Using WebMatrix to build a WordPress Site 2 of 2
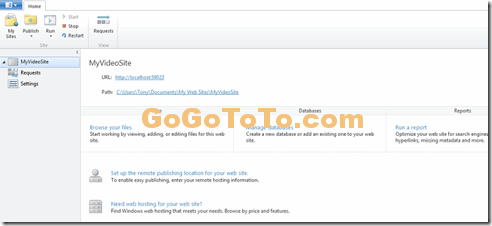
After you finished installation PHP, MySQL and WordPress (see part 1), you will come to WebMatrix user interface with your new WordPress site:
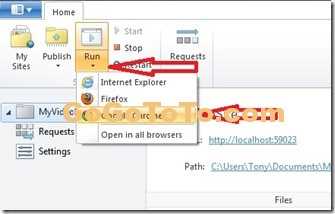
Now you can run your website: select the “Run” button on the top and choose a browser which you like. Then the WordPress site will run at the first time:
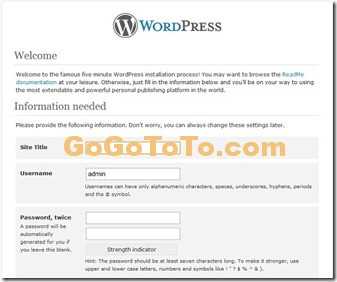
For the first time to run WordPress site, you will have to set a site Administrator:
After you input Administrator information, and click “Install WordPress”, the WordPress will set initial stuff for your WordPress site, and finally you will see your site default face like below:
Now you can just set all things just like you set without WebMatrix before, because these settings just finished through web browser. For example, you can change Theme using web browser.
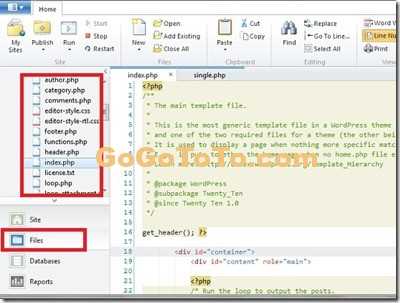
Of course, if you want to change your theme’s code, you can use WebMatrix:
Select the “File” on the left panel, and choose your file to edit:
Publish your WordPress site to Remote Hosting:
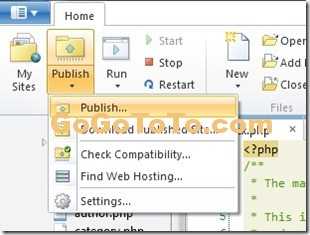
Another important feature of WebMatrix is that publish sites:
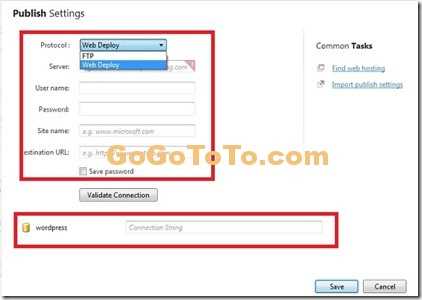
When you select Publish, you have to choose publish protocal type and input related information:
Note:
You have to choose Protocol type due to your hosting’s service, maybe your hosting only support FTP, so you have to choose FTP protocol. and you have to know FTP doesn’t support you transfer your database to hosting, FTP only support file transfer to hosting. If you want to transfer files and database, you have to choose “Web Deploy” protocol.
About Connection String: connection string like the following :
Server=SERVER_NAME;Database=DATABASE_NAME;Uid=DATABASE_USER;Password=DATABASE_PASSWORD
(The End)
